Showing posts with label Furniture. Show all posts

Thursday, July 25, 2013

a BIG TOP announcement!


 OPENING SOON!
 THE FLEA CIRCUS ONLINE SHOP
"The greatest vintage art,jewelry and handmade goods on Earth!" 
With the ease of wherever you may roam, you can shop Flea Circus Style. 
Open 7 days a week, 24 hours a day.
"Spread the Joy, Share the Whimsy"

Monday, April 15, 2013

think pink and gray! repurposed dresser drawer


A drab brown dresser drawer needed some life, so I took out my brushes and paints and got to it!
I found some 1/2 priced quart sized gray paint in the discount section. The gray color is a perfect match for the bubble gum pink backdrop! 

The drawer will hang this way on the wall-tah dah!

Eye hooks hang on the inside to hang bunting, pictures, quotes, etc...
The deep shelf is perfect for bowls, plants, cookbooks, and ideas of your choice.
Imagine the possibilities of a dresser drawer and yes, this is for sale. ;)


Tuesday, February 26, 2013

French Country Room "Oui" Do

Bonjour!  Aly and I are tres excited to reveal the before and after of our first room re-do!  I'm going to keep my French to a minimum as to not embarrass myself,  but since our client wanted a French Country look,  I may have to add some in, just to make this post tres chic...

French Country Dining Room:
Our client had started in the right direction with a lovely blue on the walls and white wainscoting. From there we were able to re-use and re-purpose a lot of their existing furniture and were delighted with all the amazing pieces that once belonged to our client's grandmother.  

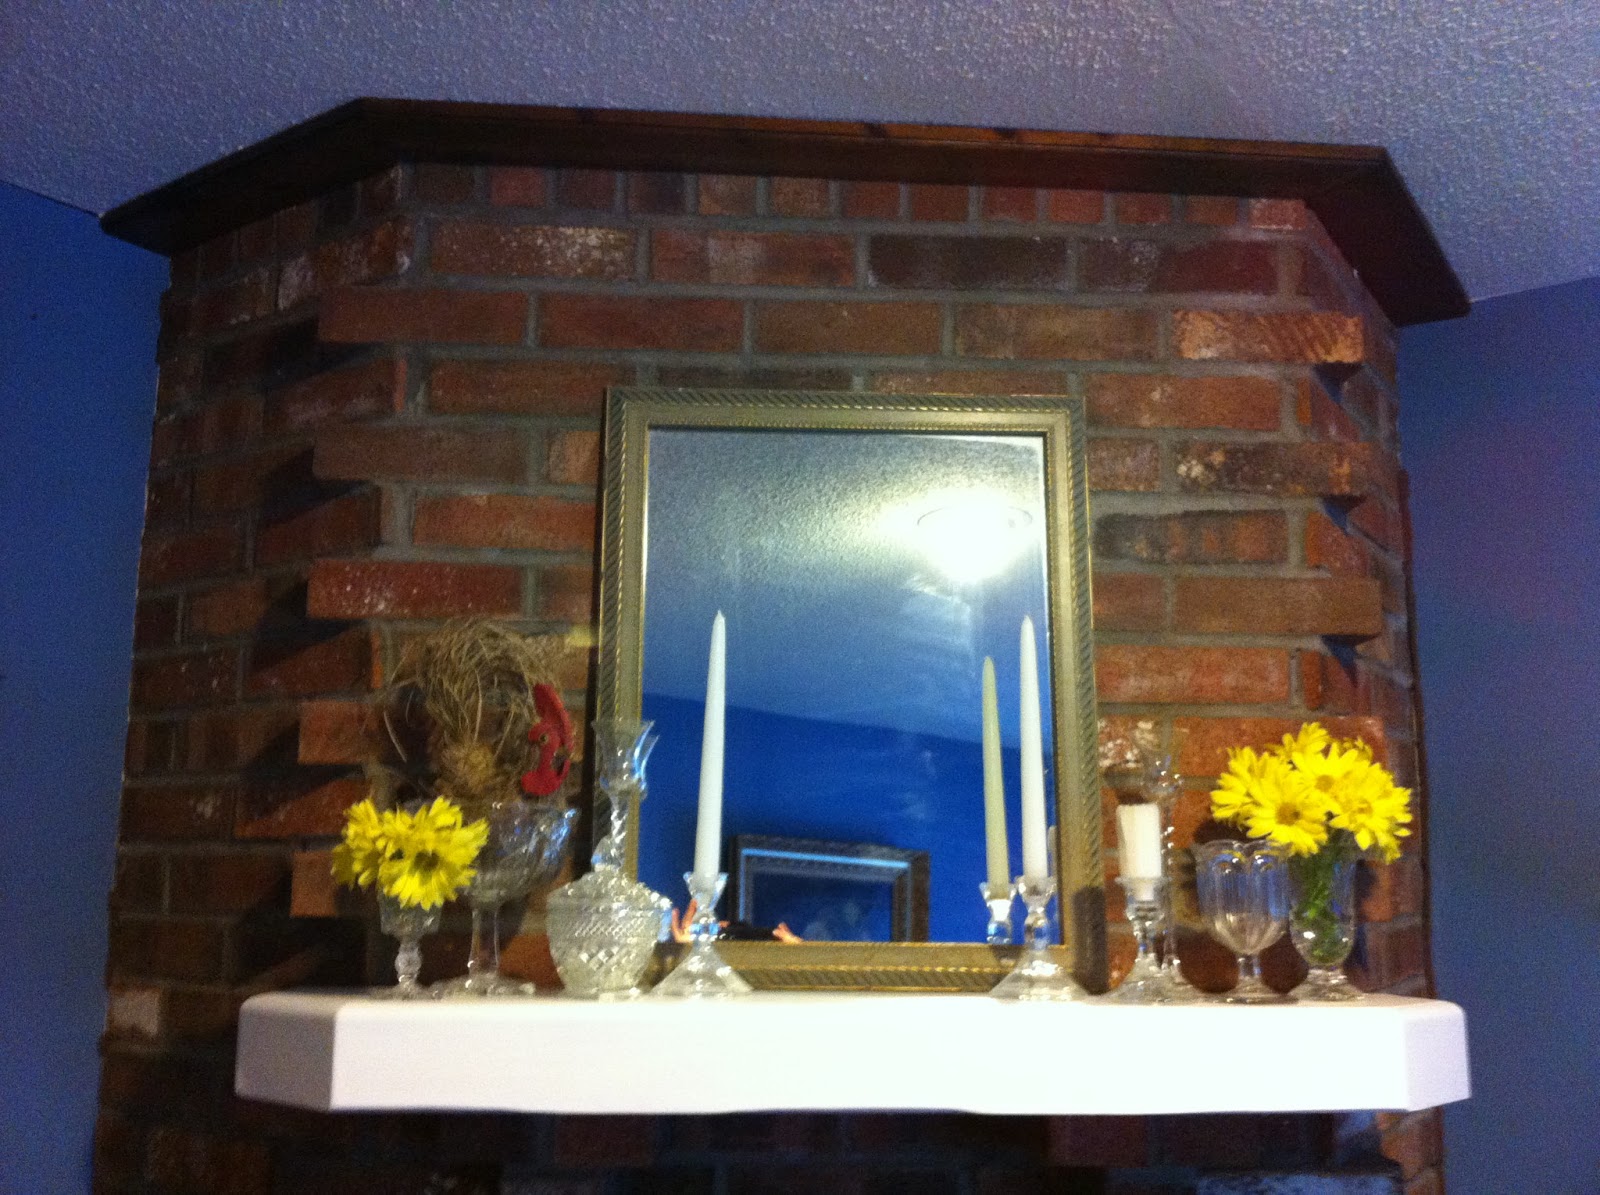
One major focal point in the room was the fireplace.  All we did was paint the mantel, simplify the decor and voila!
Fireplace BEFORE
Fireplace AFTER


Fireplace AFTER (side view)


A focal point that was at the request of our client, a plate wall.  They had a collection of blue/white/yellow plates and desperately wanted this look.  As you can see, we gave them just that. 

Plate Wall BEFORE
Plate Wall AFTER


Next, we worked on the small corner of the room.  This area was positioned in between the opening to their kitchen and the sliding doors to a deck.  They wanted this corner to function as a holding area for BBQ supplies in the summer.  We gave them that and doubled it as a dry bar.

Corner Area BEFORE
 
Dry Bar/Hutch BEFORE


Corner and Bar AFTER


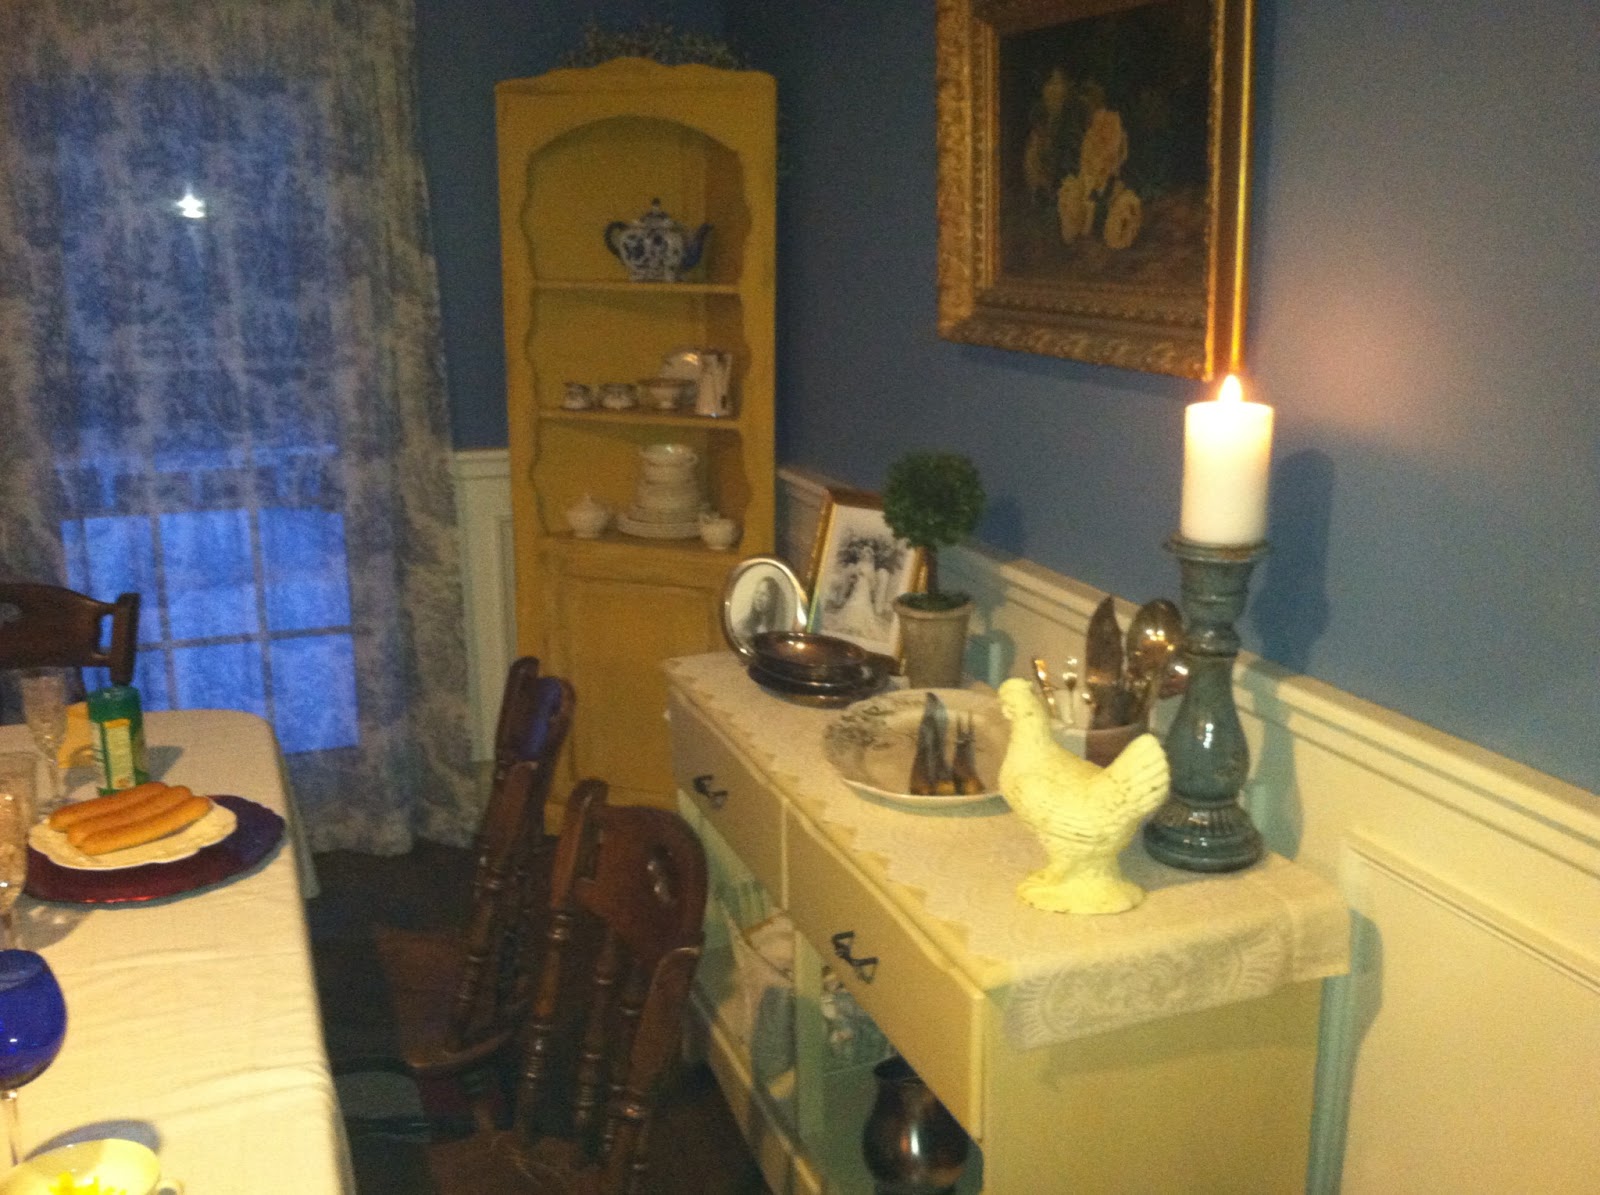
Moving to the next corner we worked off the inspiration pictures we had our client pin to pinterest.  One in particular popped out - it showcased a yellow corner hutch.  Thanks to Craigslist, we scored the perfect hutch and after some glazing and distressing, it filled that corner perfectly. 

Corner BEFORE
Corner AFTER


Another wish our client had was a proper buffet.  To buy one was not in our budget so when "picking" their house, we spied a 6 drawer pine dresser in the cellar and decided to rework it and bring it back to life.  By cutting out the bottom 2 rows of drawers, adding MDF for a base and back, painting and distressng and adding new pulls, it went from trash to ultimate treasure.  The perfect piece to highlight grandmother's antique picture and serving ware.
"Buffet" area BEFORE (recall this pc. became the bar)
Buffet AFTER


Buffet AFTER
Buffet AFTER


Lastly, the client wanted their table/chair set to stay, but the chandelier to change (and they wanted shades added). With budget getting tight, we looked to our trusty friend, spray paint, and completely transformed the style and gave them the pop of red they requested. 
Chandelier BEFORE
Chandelier AFTER
Table Setting with Fireplace
Table Setting with Hutch


Check out the full room - panoramic style!!


We hope this room makeover inspired you in some way!  Stay tuned for most posts highlighting staging techniques and DIY projects from this re-do!

au revoir mon ami


Tuesday, February 5, 2013

Vintage Bathroom Storage

No, my bathroom isn't vintage (unless you consider 1980's pre-fab a vintage), but my bathroom does lack storage - especially on the sink top.  That means, with only 1 bathroom in the house (YIKES) and 4 people, odds are the sink area will be cluttered.  And my husband hates clutter.  And his hatred has worn off on me :).  But lately, he has liked my creative ways of storing things - even when they are rusty/chippy/vintage!  BONUS!  

A few weeks ago, I eyed a perfectly chippy side table that would fit just right in between my bathroom sink and toilet.  It also had a shelf at the bottom - so 1 table + 2 shelves = more storage!

Sunday, I bought said chippy table, cleaned it off, slapped on poly to stop the chips from molting and set it in my bathroom.  While buying my new chippy (I am really enjoying this word today) table, I also came across some old coffee/tobacco/lard tins. Then it hit me... put them together - you have whimsical/industrial/vintage storage that makes your pre-fab home unique!

I am really loving how this turned out


Wednesday, January 16, 2013

Coffee Table Redo

Aly and I both have small ranch style houses, but big decor style!  Case in point, my coffee table.  I HAD 2 of the IKEA Lack style tables however I also had 2 issues: 1. they did not have enough storage and 2. they did not have enough decor surface :).  Luckily, my brother and his wife were selling their old coffee table that offered a wider/bigger surface and a shelf underneath - I scooped it right up!

First, it being a dark wood, I took a belt sander (and good ole elbow grease for some areas) and "roughed" it up - I liked that some areas rubbed back more than others - giving me that "I've been left in a workshop for years" look:

Then I gathered supplies.  I knew I wanted to add numbers to my table to give it an industrial look - so I printed off no. 1, no. 2, no. 3 and no. 4 using Bodoni MT Black font.  I also needed:

Gold paint (used Martha Stewart Living Metallic Paint - found at Home Depot for $5)
Paintbrushes (varying sizes)
Pastels (to transfer my number outline onto the table - Tutorial found here)
Pencil
Painters tape
Clear Poly or Poly/Stain combo (depending on the look you are going for) 
Sandpaper (try different grits depending on the look you want - start with the finest, you can always go rougher)
Tack Cloth


First, start by giving your newly sanded table a good wipe down to remove all the dust and debris.
Next, lay out your numbers how you would like them.  Use the painters tape to make them level.
Use the pastel transfer technique (seen in photo above) to get your outline.  Using your gold paint, fill in the graphics.  I did 2 coats of this gold.  **NOTE:  I really liked this product.  Usually metallic paints can be "watery" and take numerous coats to achieve desired look, this one was thick and only took me 2.  

I then rubbed back the gold paint using a fine grit sandpaper - recall I wanted that "aged/industrial" look.
When I was happy with the results of the graphics, I became torn on how I wanted the end result to look.  I toyed with doing just a clear poly but felt that would not give me the "workshop" look I wanted.  So I bit the creative bullet and opted for Minwax's Polyshades in Honey Gloss.  I did, however, put on a coat of the Polyshade and wiped it off so the color wasn't too bold.  THEN I did a clear coat over the top.  
I have to say, I LOVE how it turned out!  What I loved most is that I had a look in mind and how it got there wasn't how I thought it would!  The table is getting lots of use in our living room and has turned into the centerpiece of the room.  I will definitely try this technique again and I hope you will too!!