
French Country Dining Room:
Our client had started in the right direction with a lovely blue on the walls and white wainscoting. From there we were able to re-use and re-purpose a lot of their existing furniture and were delighted with all the amazing pieces that once belonged to our client's grandmother.
One major focal point in the room was the fireplace. All we did was paint the mantel, simplify the decor and voila!
 |
| Fireplace BEFORE |
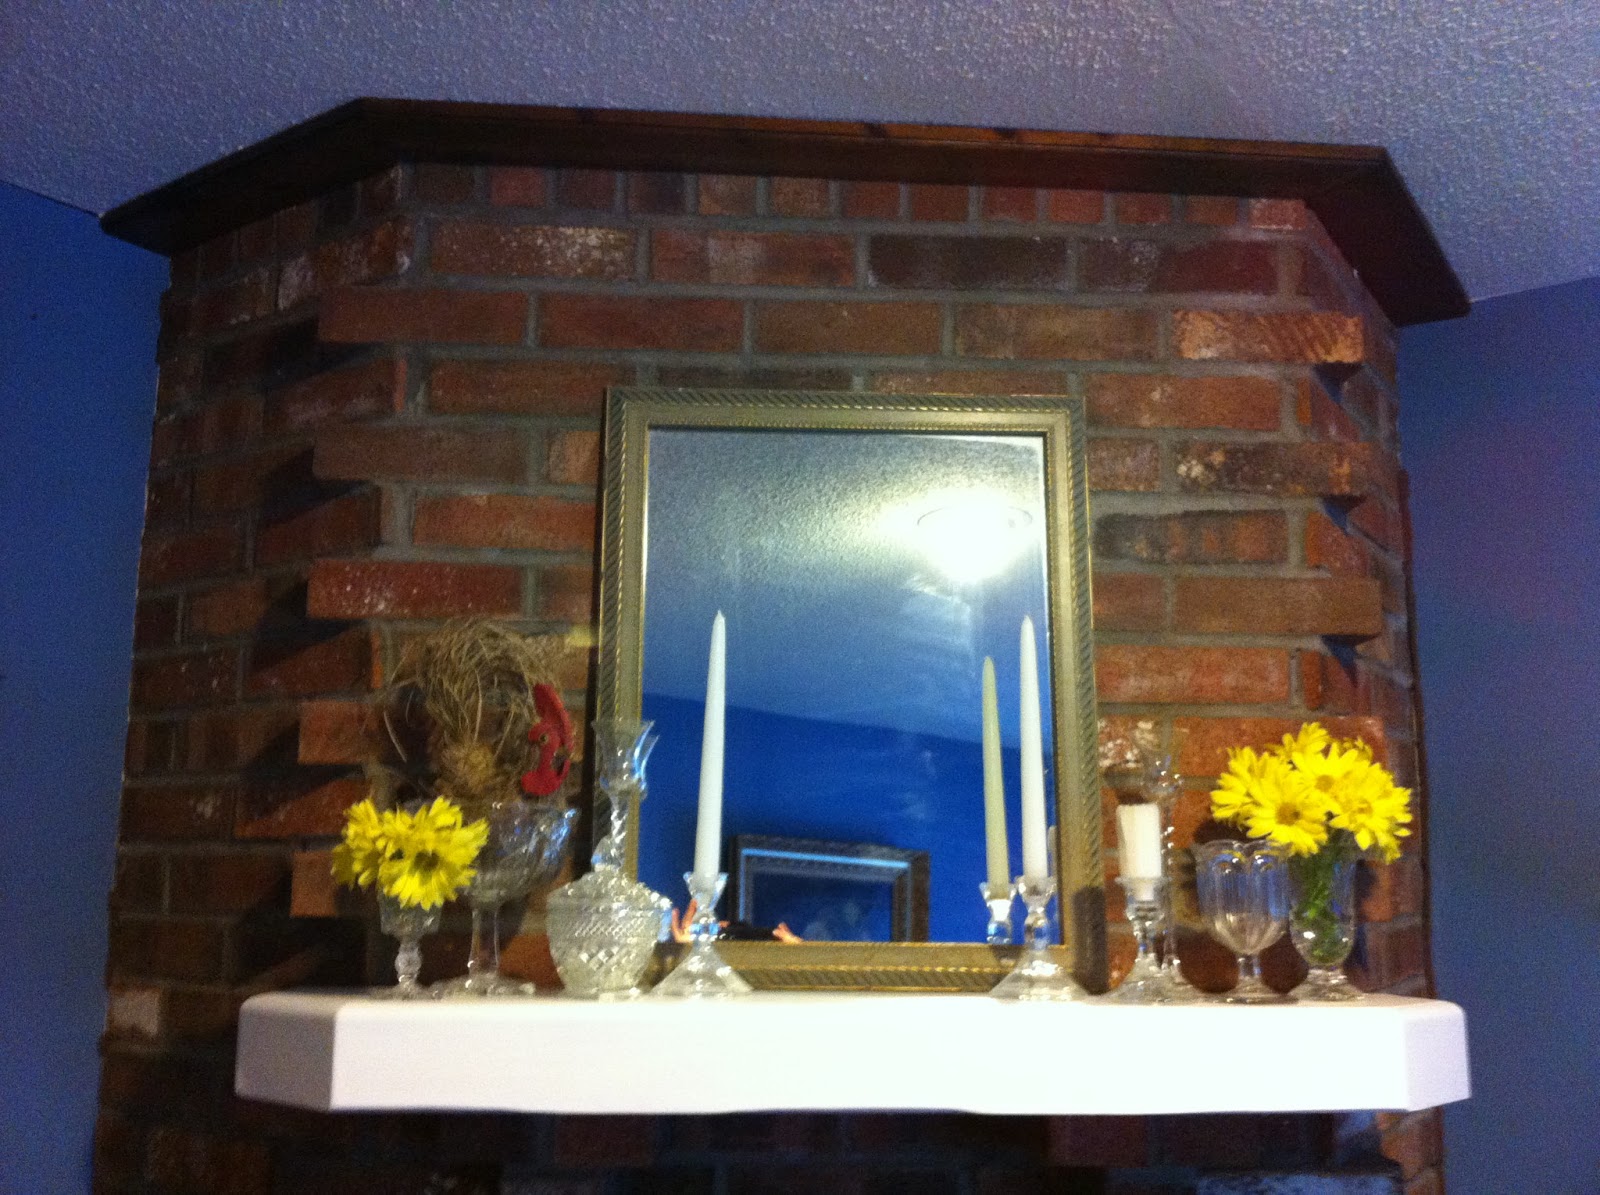 | ||
| Fireplace AFTER |
 |
| Fireplace AFTER (side view) |
A focal point that was at the request of our client, a plate wall. They had a collection of blue/white/yellow plates and desperately wanted this look. As you can see, we gave them just that.
 |
| Plate Wall BEFORE |
 |
| Plate Wall AFTER |
Next, we worked on the small corner of the room. This area was positioned in between the opening to their kitchen and the sliding doors to a deck. They wanted this corner to function as a holding area for BBQ supplies in the summer. We gave them that and doubled it as a dry bar.
 |
| Corner Area BEFORE |
 | ||||||||||||
| Dry Bar/Hutch BEFORE |
 | |||
| Corner and Bar AFTER |
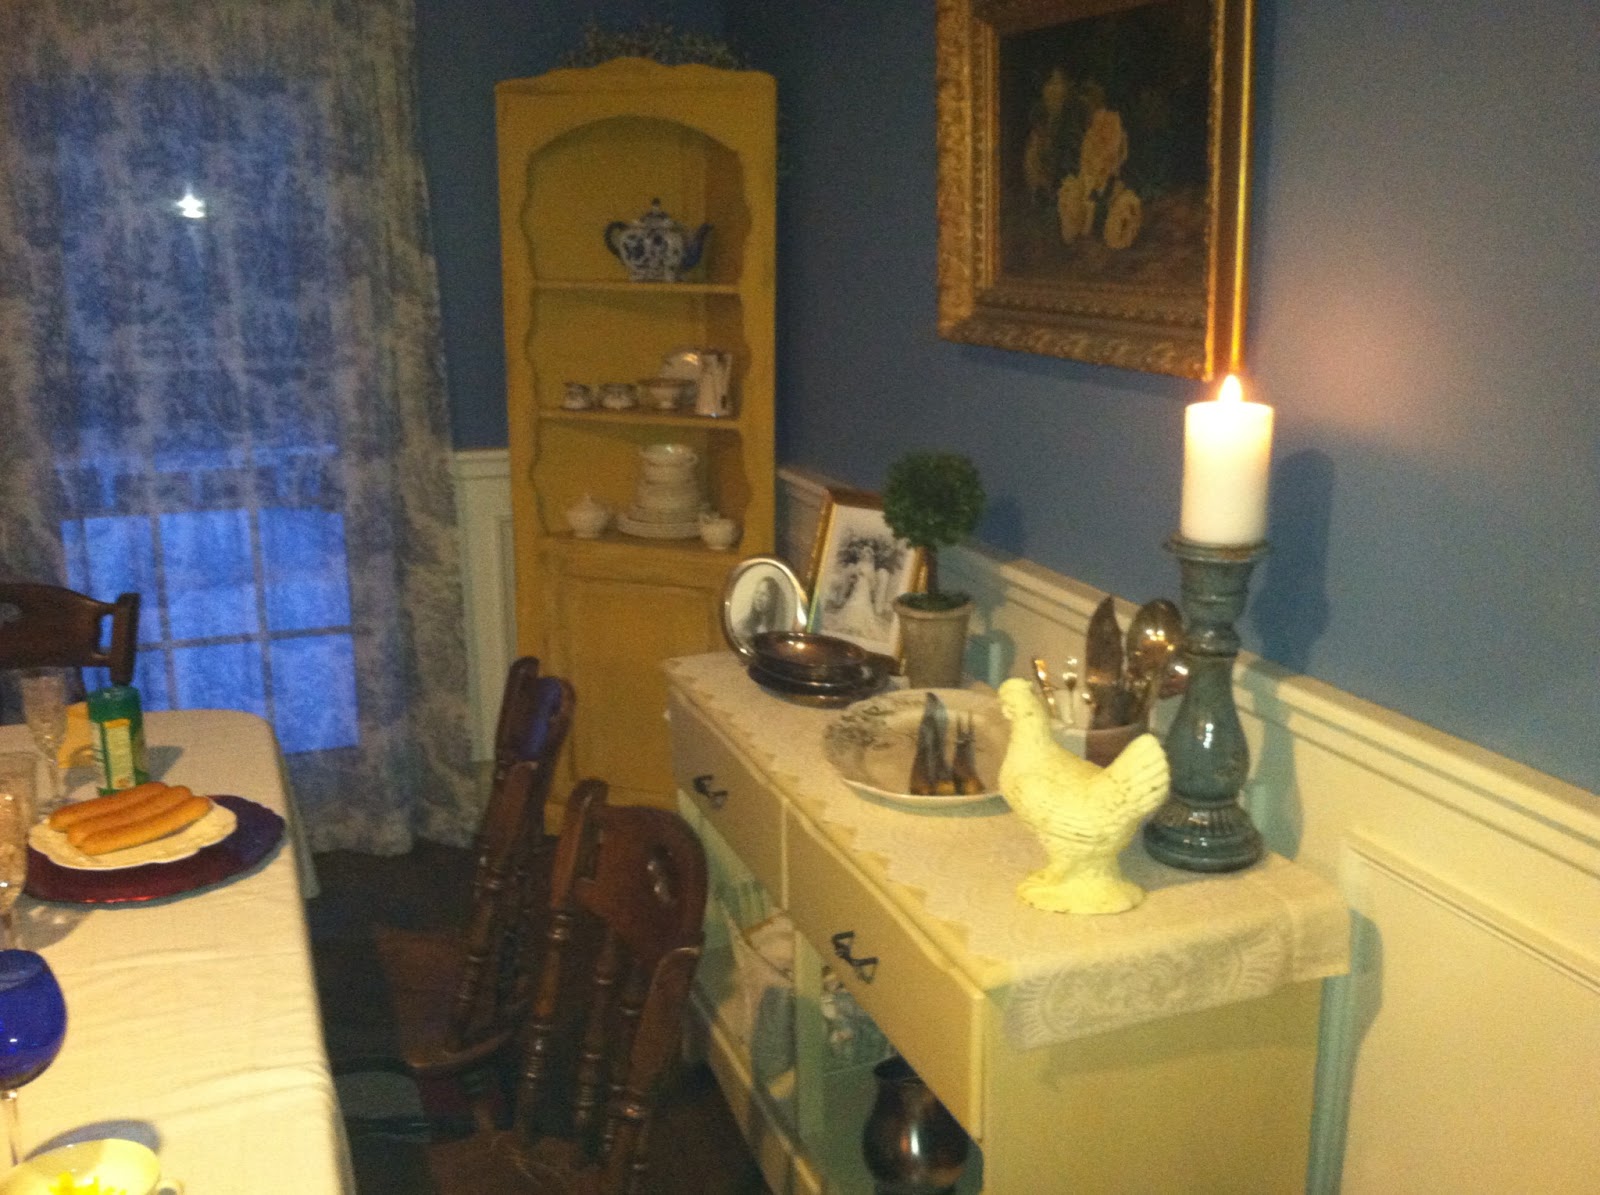
Moving to the next corner we worked off the inspiration pictures we had our client pin to pinterest. One in particular popped out - it showcased a yellow corner hutch. Thanks to Craigslist, we scored the perfect hutch and after some glazing and distressing, it filled that corner perfectly.
 |
| Corner BEFORE |
 |
| Corner AFTER |
Another wish our client had was a proper buffet. To buy one was not in our budget so when "picking" their house, we spied a 6 drawer pine dresser in the cellar and decided to rework it and bring it back to life. By cutting out the bottom 2 rows of drawers, adding MDF for a base and back, painting and distressng and adding new pulls, it went from trash to ultimate treasure. The perfect piece to highlight grandmother's antique picture and serving ware.
 |
| "Buffet" area BEFORE (recall this pc. became the bar) |
 |
| Buffet AFTER |
 |
| Buffet AFTER |
 |
| Buffet AFTER |
Lastly, the client wanted their table/chair set to stay, but the chandelier to change (and they wanted shades added). With budget getting tight, we looked to our trusty friend, spray paint, and completely transformed the style and gave them the pop of red they requested.
 |
| Chandelier BEFORE |
 |
| Chandelier AFTER |
 |
| Table Setting with Fireplace |
 |
| Table Setting with Hutch |
Check out the full room - panoramic style!!


We hope this room makeover inspired you in some way! Stay tuned for most posts highlighting staging techniques and DIY projects from this re-do!
au revoir mon ami

No comments:
Post a Comment